flash

Environmental Shooting

For those of you who follow my Facebook page, I said there would be more, and here is the more.

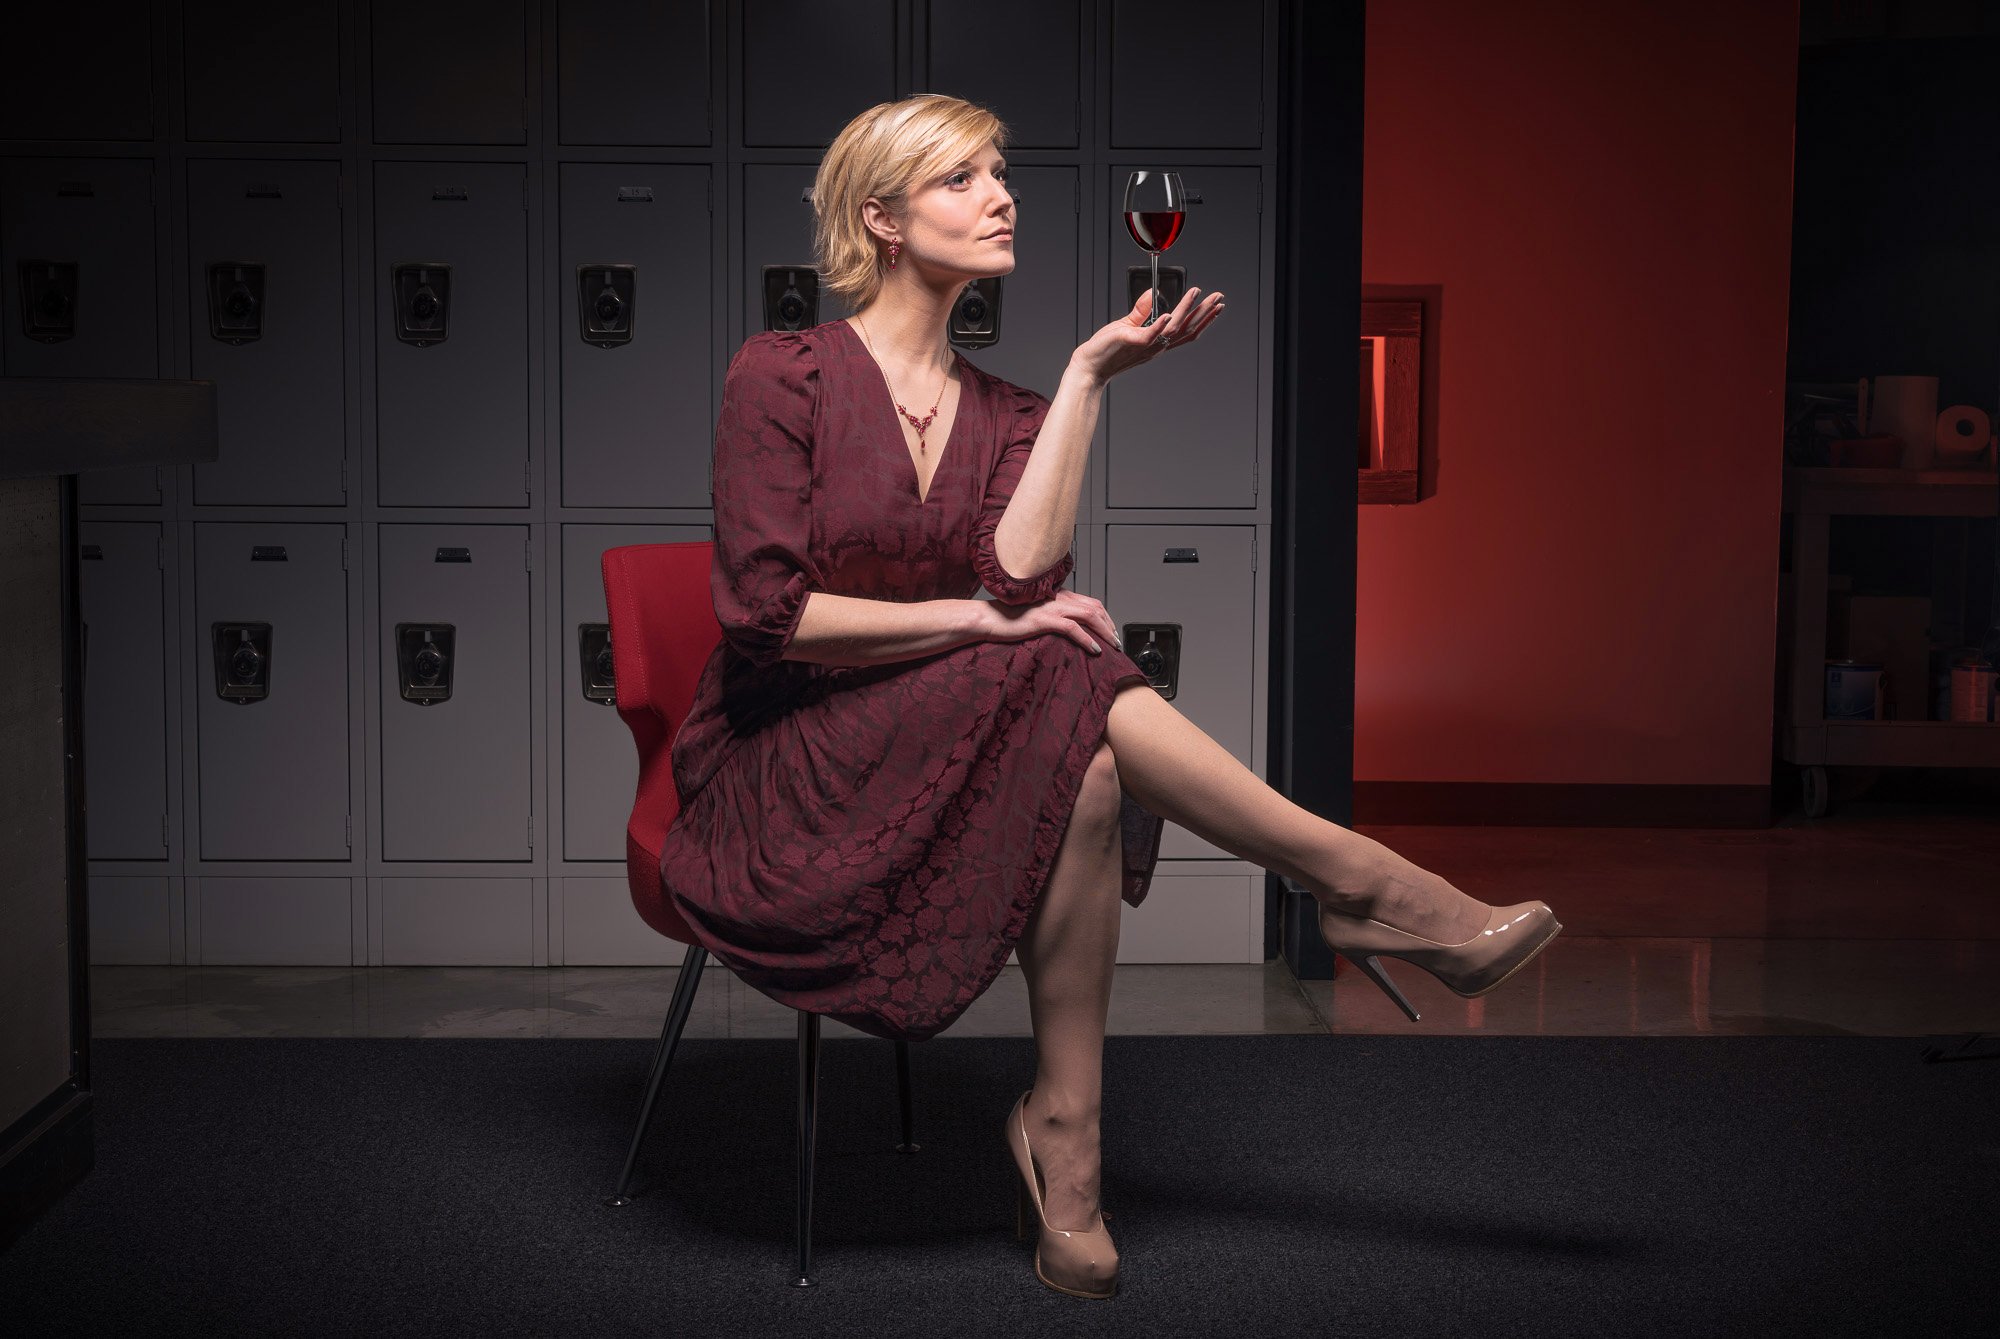
To keep up with your photography skills, it always helps to go to workshops to learn and practice. Plus, I love working with professional models. This was no different. With the help of @Robertsphoto in Indianpolis,In and our model Afton, the class was on an environmental shoot. This class was terrific, for we took pictures in a 10-yard diameter and made the best using lighting. In the above photo, when I was going through the shooting, I could not help thinking this was a teacher escaping her class for a bit of downtime. So I told her to pretend that she was holding a wine glass, for I added this in photoshop to get the image my mind was thinking. The above picture was a 3 light shoot.

If you saw where these pictures were taken, you would say how? It’s a simple look at the background and asks whether it will benefit. If it helps, if it does not, don’t show it. As you know, I love flash photography and have a lot of fun using it. In this case, we used from one light all the way to 3 lights and again in a very small area. That is one way to help with the background. Another is the angles of the picture; another is putting the background in focus or not. (you thought it was just pint and click :) ) I bet we had about 10 shots, and all we needed to do was look.

I can’t say enough about working with a model. For me, it allows me to use my creativity and wait for the moment before clicking. I am a big believer in education and learning. No matter how much you know, you can always learn more. I love workshops for two reasons. First, I get to see things live, and last, I get a chance to see other photographers and learn from them. Photographers are like campers. We love what we do and love to talk.

Playing with Color

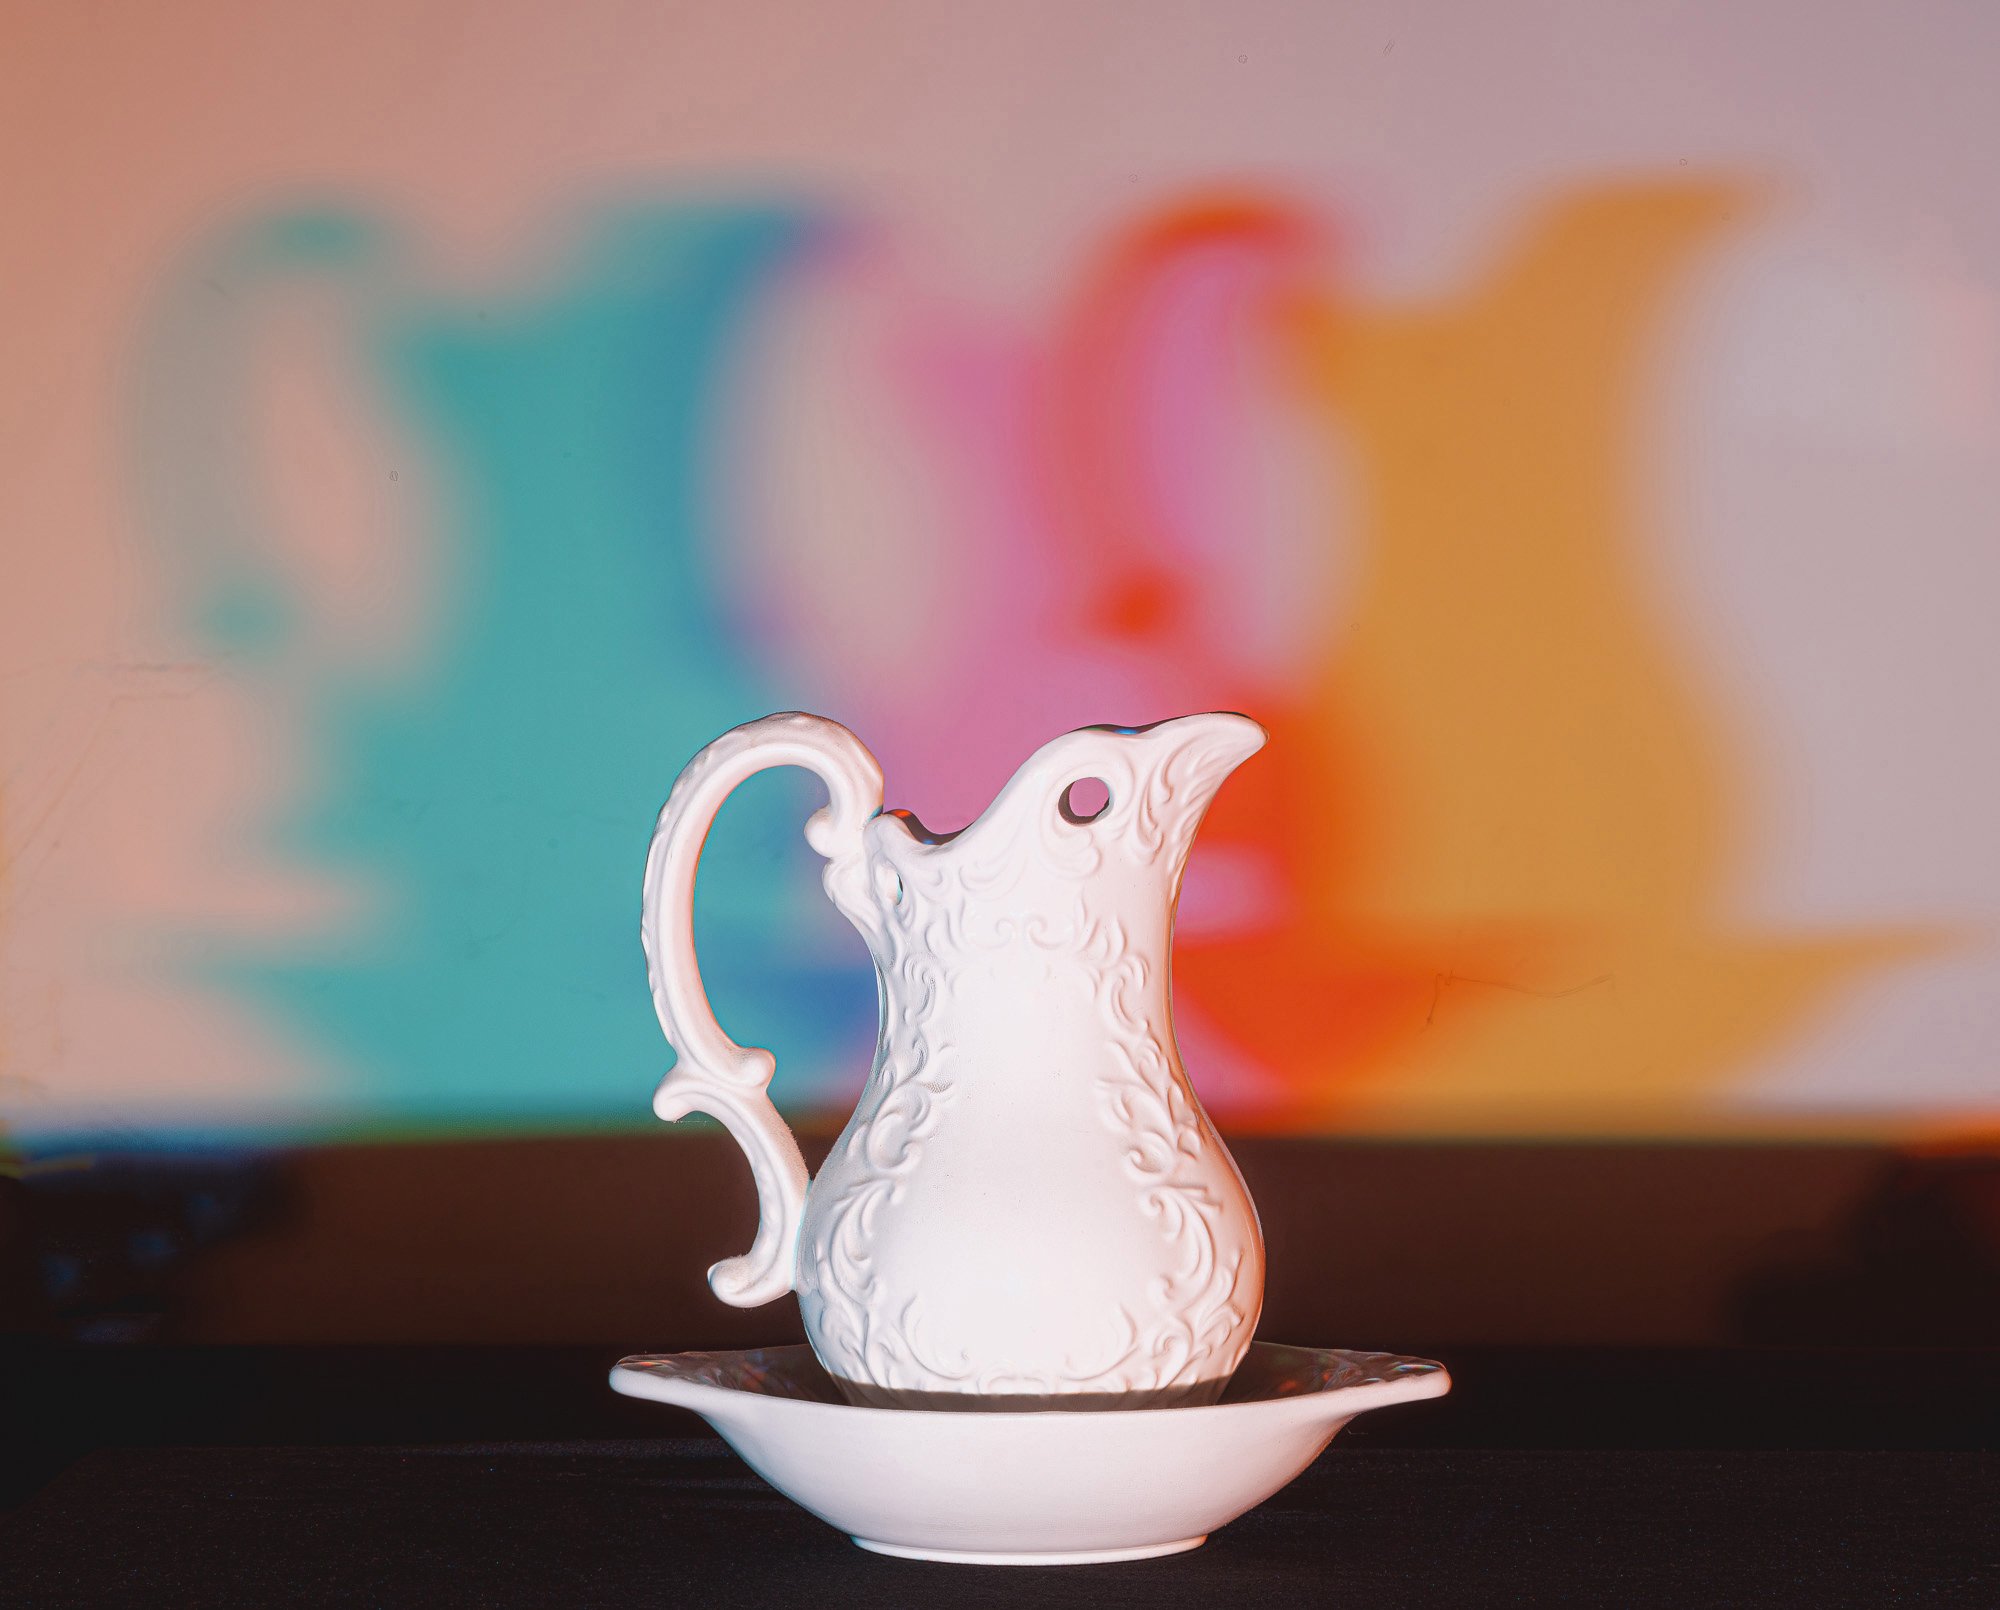
Yes, when we were young, we played with a crayon in school and learned color. What colors look good together, and what colors do not? Who knew that I would play with color again? Not crayon’s but with flashes with gels. We heard the term RGB but what does it mean? Red, Green, and Blue. With these colors, we see all colors. Like your TV or computer is RGB. But what happens when I combine all three? If you said white, you are correct. I saw this setup in the book Studio Anywhere, and I always wanted to do it. In my family room with a white wall, I set up 3 flashes equal in power and in-line with the subject. I placed a filer on each (red, green, and blue). Next, I took the shot and got this.

Remember, RGB equals white. Noted on the subject, but what happens in the background or shadows? You see Red and Green = Yellow, Green and Blue = Cyan, and Red and Blue = Magenta. This is what you see in the background. Now I know what you are saying. Why? Well, maybe a picture of something different? Plus, the understanding color will help your photography and what you can do with flash if needed. Last I wanted to do it, and I did it. Ok, what makes black? Combine the cyan, magenta, and yellow, and you have black. When we print, we print in CMYK and see our TV or Computer Screen in RGB.

Practise Time

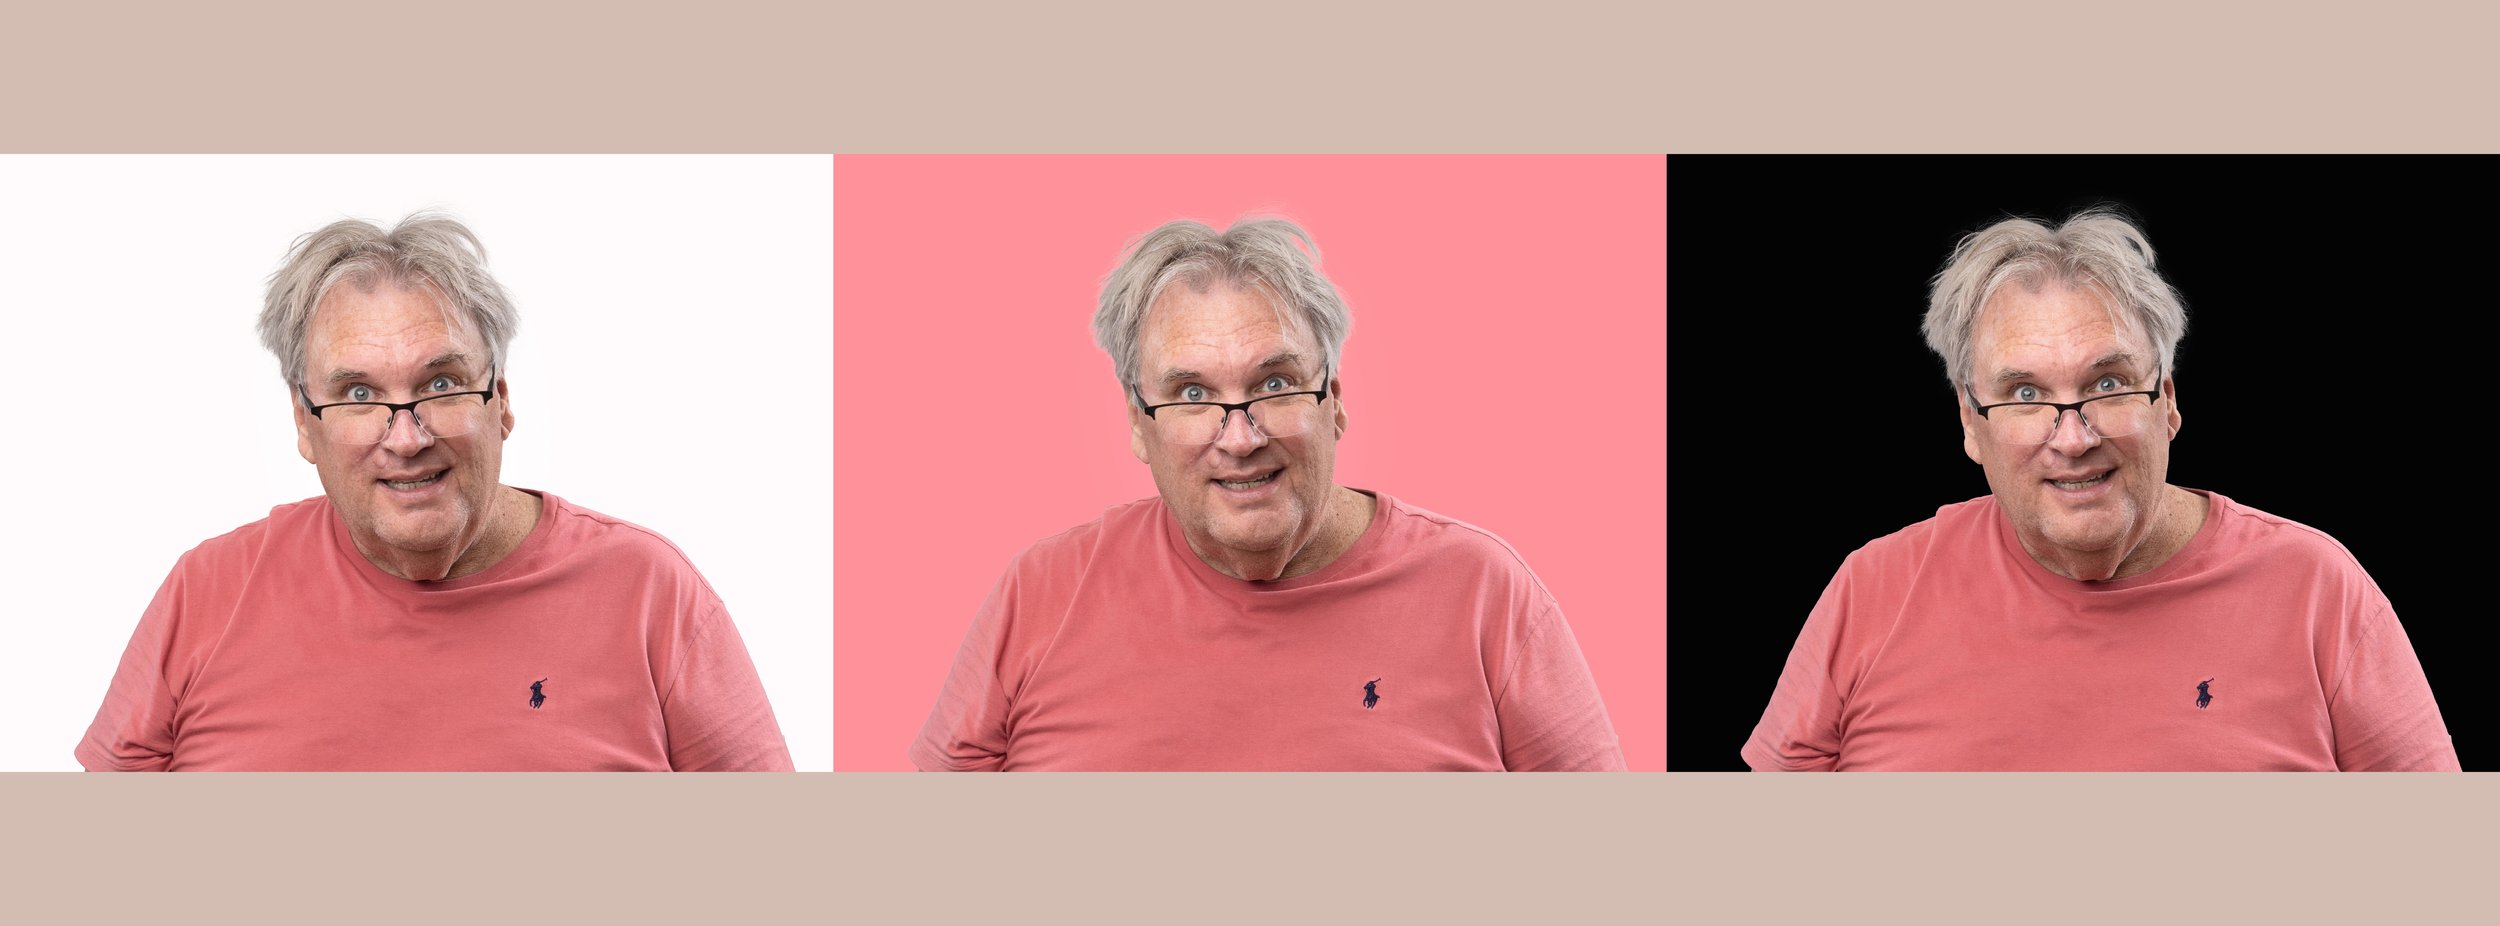
The weekends in Ohio have been just about raining all the time. With that, it was time for practice time in my make-shift studio in the family room. This time I wanted to have the perfect photo for cutouts to be used in composites using a white background. I wanted the fly-away hairs and no blowout. So with that, I set up my seamless white paper. To keep it white, I used two 200-watt flashes to light it. I set up a chair about 8-10 feet from the white paper. For my key light, I used another flash with a soft box on it and had it about 5 ft away from the chair.

While crowded, the studio was set. Next was a subject. Yep, I could not convince my wife for this assignment, so I used myself. Messing up my hair so that I would have fly-away hair, it was time to practice. Then, it was time to practice using my phone to trigger the camera. I use a light meter when I am in the studio and begin practicing. I did overexpose background, underexpose, and wrote down what happened. I did the same thing with the key light. (main light). In the end, I came up with what I wanted and time for photoshop and tried different backgrounds and see if the cutout worked. It did. Next time, I need to buy a wig and use it on my mannequin head.

High School Seniors

You can tell when fall is coming. Yes, the locus is one way, but I am talking High School Senior picture time. Last week I got the chance to do part 1 of Katie’s pictures. It was hot and humid. The mosquitos were out. But with all that, we manage through.

4000px-Luminar-1719 copy.jpg

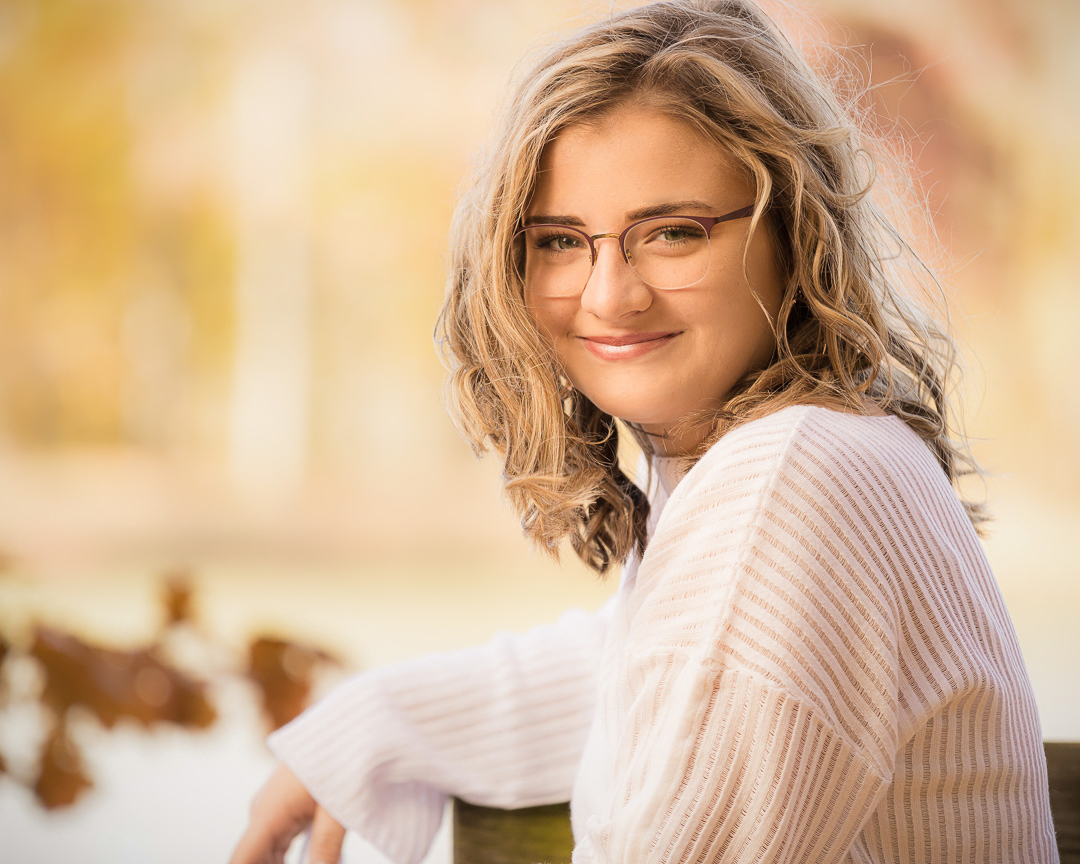
We arrived about 40 minutes before what photographers call prime time with the light or what is known as Golden Hour. For me, it does not matter because I can make golden hour just about anytime by using flash. This is what I did with the above picture. I used the sun as a backlight and a flash with a 1/4 CTO gel.

4000px-Luminar-1747 copy.jpg

Finally, the magic hour came, and time to switch out for flash to a reflector. Again taking advantage of the sun as a backlight, but now I need to light up the face to bring out those beautiful eyes.

4000px-Luminar-1764 copy.jpg

Just about the time, we were ready to leave, and it was getting dark outside, time for a quick picture with flash, and for the softness that I like, I shot it through a diffusion sheet. (Wind and a quick setup) That was a wrap for this session.

I am looking forward to the next where we will be doing more formal type studio shots.

4000px-Luminar-1853 copy.jpg